
Share
Published 22:30 2 Oct 2017 BST
Updated 22:32 2 Oct 2017 BST
 Add us as a preferred source on Google »
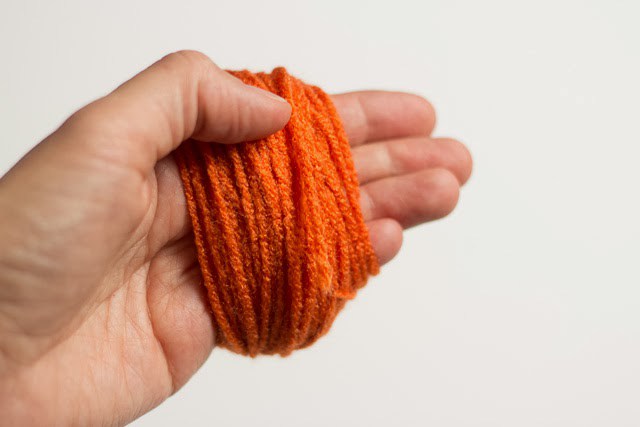 2. Cut a ~10 inch piece of yarn and stick it between your fingers to wrap it around the big yarn loop.
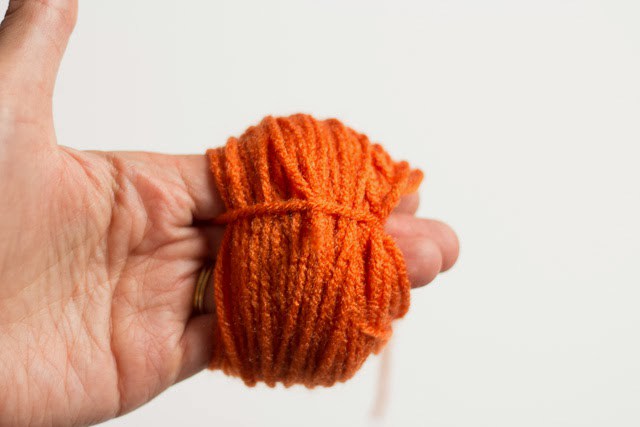 3. Line up the piece of yarn in the middle of the yarn loop, and tie – pulling taut and wrapping around the backside as well.
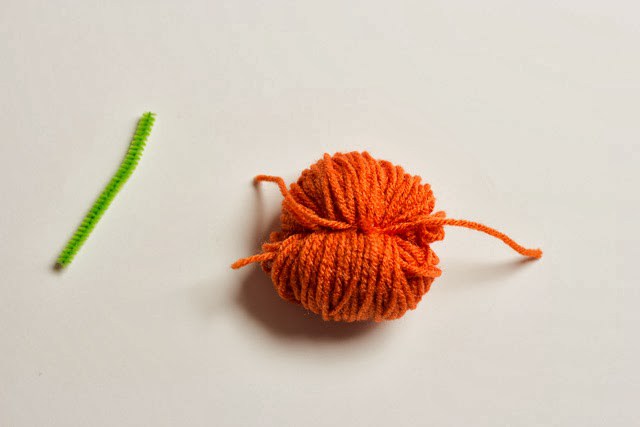
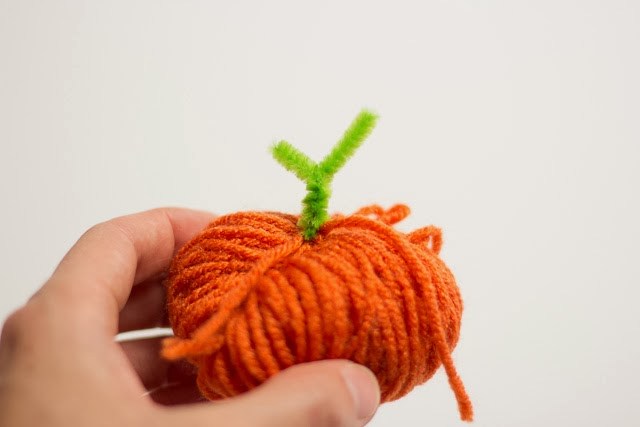
 4. You now have your basic pumpkin shape. Cut a 2 inch piece of pipe cleaner and tie to the pumpkin using the two loose strands of yarn from Step 3. Don’t trim the strands yet!
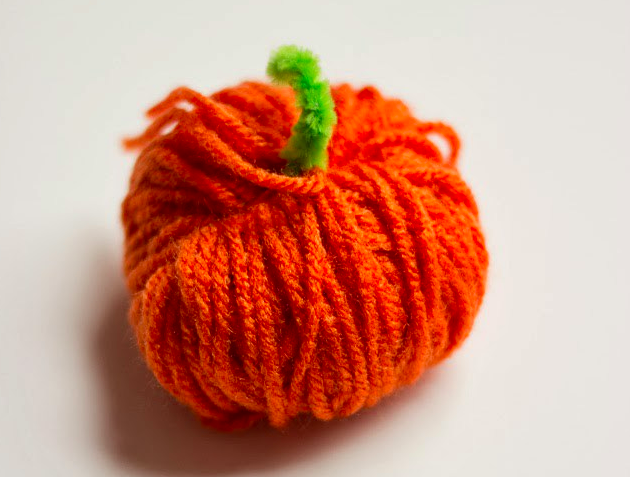
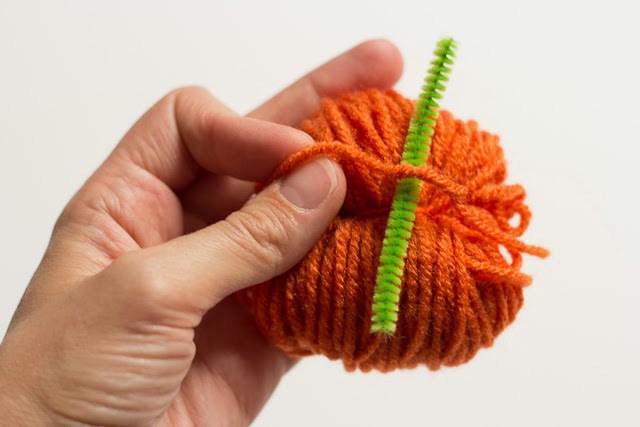 5. Wrap the pipe cleaner around itself to form the stem.
 6. Pretty up your pumpkin by tucking in any loose loops.
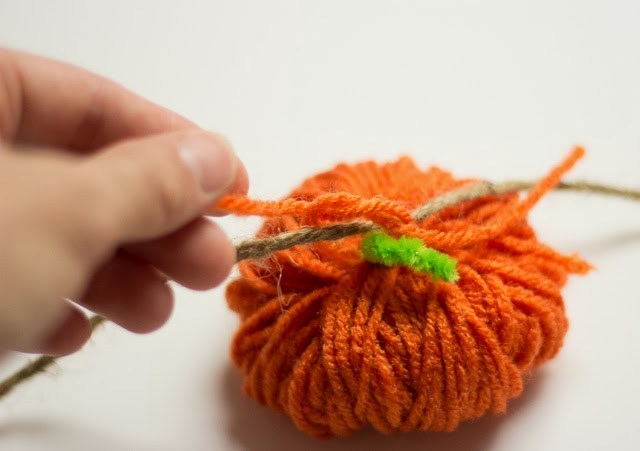
 7. Once again using the loose strings on the pumpkin to tie them around the twine. Continue making pumpkins until you have enough for your garland!
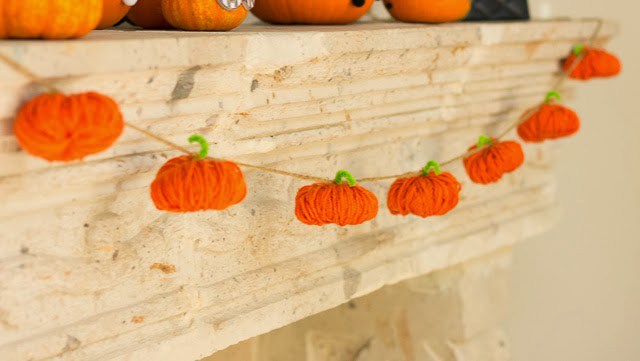
 Tips: These would also look cute as stand-alone yarn pumpkins scattered down the middle of your dining table or mixed in with some real mini pumpkins on the mantel as well!
 (Images and tutorial from Honest to Nod)
Explore more on these topics: